
There is a screen in Vercel that everyone sees, but few beginners truly understand. It's the Environment Variables settings page.
Official documentation explains how to set it, but often skips what it actually is and why it exists, leading to confusion like "I set it, but it's not working!"
This article explains the Vercel Environment Variables screen in the simplest terms possible, specifically for those who might be "vibe coding" their way through deployment.
Conclusion: What is this screen?
In short: This is the place to register "secret settings" to pass to your app.
It allows Vercel to secretly hand over values to your app when it starts, so you don't have to write them directly in your code.
What exactly is happening here?
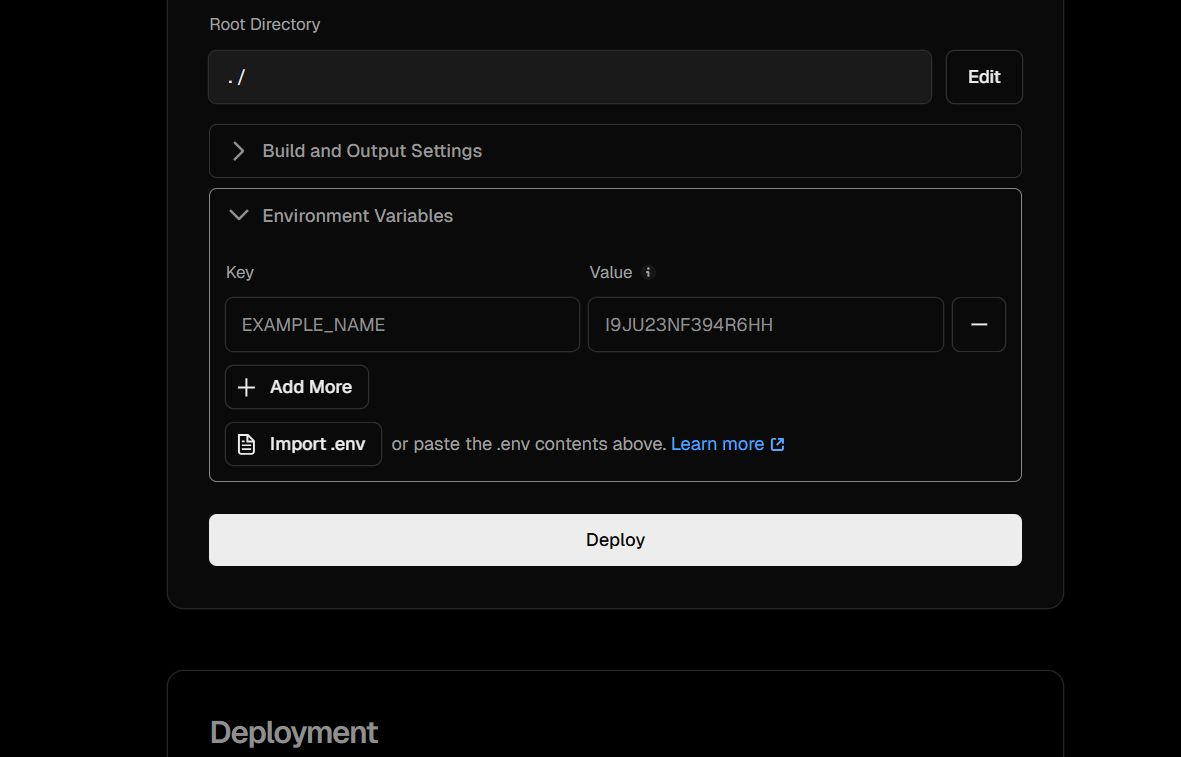
The operations on this screen are very simple:
- Key: The variable name (the name you call from your code later).
- Value: The content (API keys, tokens, configuration values, etc.).
- Deploy: Re-build the app using those values.
Essentially, you are telling Vercel: "Use this value for this name starting from the next deploy."
Why is this mechanism necessary?
Reason 1: To keep secrets out of GitHub
Writing secrets directly in code is a recipe for disaster:
// ❌ Bad Example
const API_KEY = "sk-xxxxxxxx";
If you push this, your API key is leaked to the world.
Instead, we do this:
// ✅ Correct Approach
const API_KEY = process.env.API_KEY;- Actual Value: Stored in Vercel.
- Code: Stored in GitHub.
This mechanism allows for a safe separation of concerns.
Reason 2: To change values for each environment
In real-world development, it's common to have different settings:
- Production: Uses the live API key.
- Preview: Uses a verification API key.
- Local: Uses a dummy key.
This screen acts as a control tower to switch which value is used in which environment.
The "Trap" Points for Beginners
If you are stuck, check these three points.
❌ "I set it, but it's not reflected!"
👉 You haven't deployed yet.
Environment variables are baked in at build time (mostly). They are only used starting from the next deployment. If you change a variable, you must Redeploy.
❌ "console.log shows undefined"
👉 You are trying to read it from the client side.
- Server-side: OK.
- Browser (Client-side): NG (unless you add NEXT_PUBLIC_).
By default, environment variables are hidden from the browser for security. If you really need to access them in the browser, the variable name must start with NEXT_PUBLIC_.
❌ "I don't know how it's different from .env"
- .env: For your local machine.
- Vercel Environment Variables: For Production and Preview environments on Vercel.
The role is different, but what they do is the same.
Summary (In 30 Seconds)
- This screen is a storage for secret settings passed to the app.
- It exists so you don't write secrets in your code.
- If you change it, you must Deploy.
- If you use it in the frontend, you need NEXT_PUBLIC_.
Understanding this "control tower" is the first step to mastering Vercel deployments.
