
What You'll Learn in This Article
gog (gogcli) is a tool that lets you control Gmail, Google Calendar, and Drive from a black screen (terminal).
Conclusion: Even if you're not tech-savvy, you can start using gog within 30 minutes by following this guide.
What is gog? What Can It Do?
In Simple Terms
gog is a tool that lets you control Google services from a black screen (terminal).
Normally, you open Gmail in a browser (like Chrome or Safari) to check emails, right? With gog, you can do the same thing just by typing text into a black screen.
What You Can Do
Key Point: No need to open a browser—one command does the job, making your work faster.
Things to Know Before Installing
What is a Terminal (Black Screen)?
A terminal is a screen where you type text to control your computer.
- Windows → PowerShell
- Mac → Terminal
Key Point: No difficult programming needed. Just copy and paste commands.
Common Terms (Good to Know)
Overall Flow (4 Steps)
[Step 1] Preparation (10 min)
    ↓
[Step 2] Install gog (10 min)
    ↓
[Step 3] Connect with Google (10 min)
    ↓
[Step 4] Try it out (5 min)
Key Point: Even beginners can complete this in 35 minutes. Take it one step at a time.
[Step 1] Preparation (Windows/Mac Common)
1-1. Open the Terminal
For Windows:
- Press the "Windows key" on your keyboard
- Type "PowerShell" and search
- Click "Windows PowerShell" to open

For Mac:
- Open "Launchpad" (rocket icon)
- Search for "Terminal" and click
Note: All subsequent commands should be pasted into this black screen and press Enter.
1-2. Check What's Installed on Your Computer
Windows users, try this:
winget --versionIf numbers appear, you're good. If nothing appears, install "App Installer" from Microsoft Store.
Mac users, try this:
brew --versionIf numbers appear, you're good. If nothing appears, we'll install Homebrew later.
[Step 2] Install gog
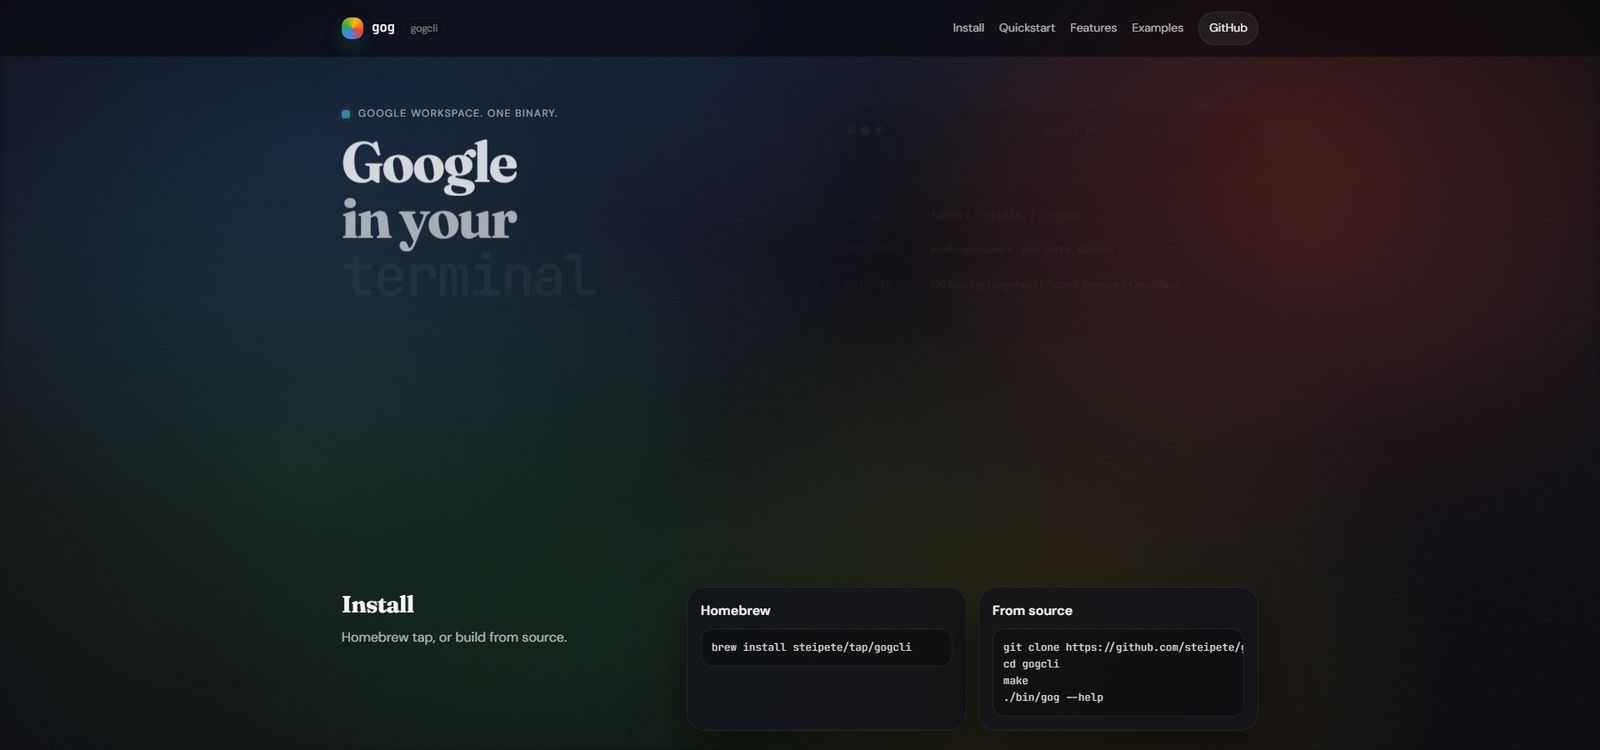
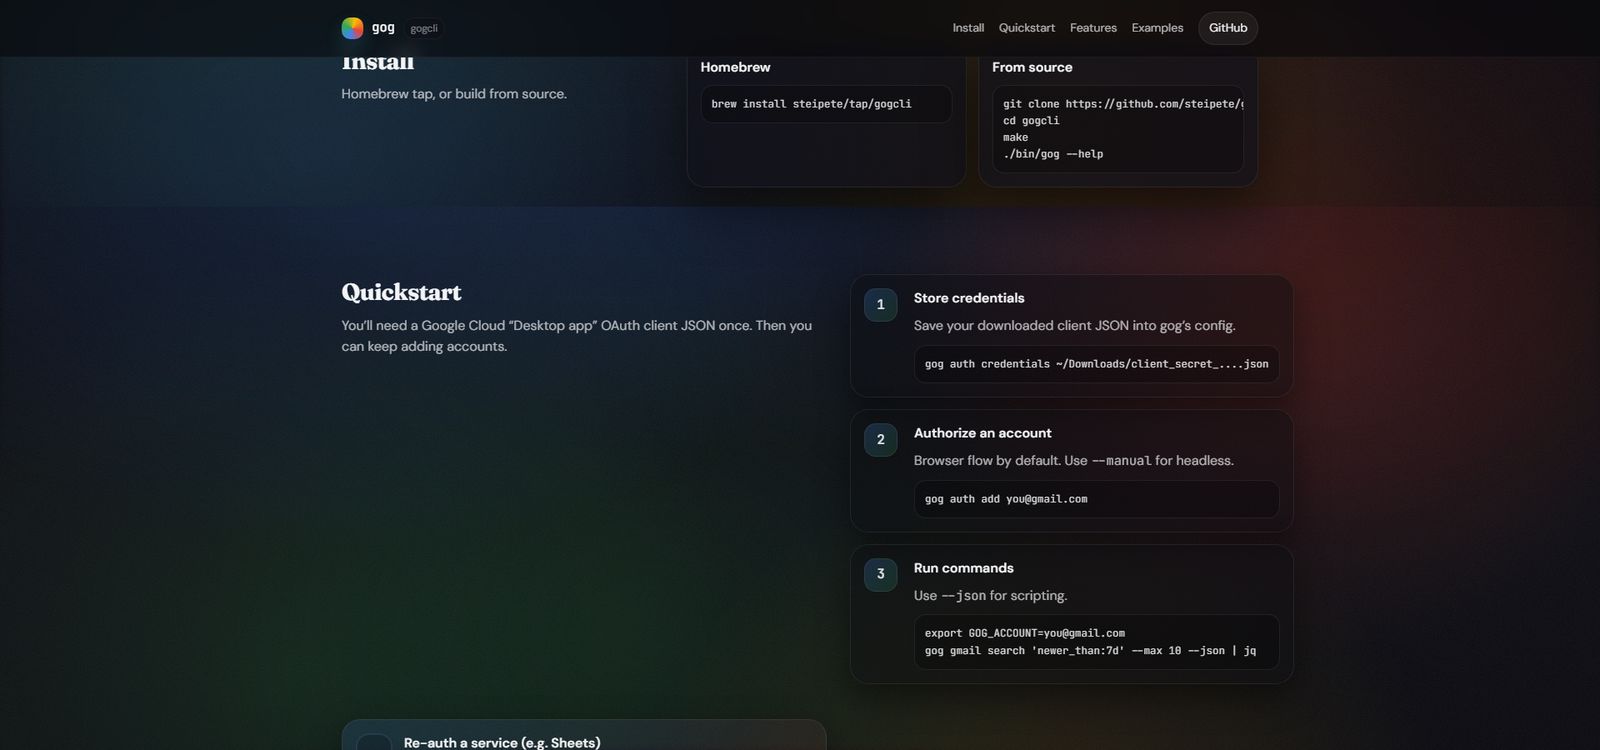
The official site's Install section offers two options: Homebrew or source build.
For Windows
Windows requires "downloading parts and assembling them yourself."
2-1. Install Go and Git
Copy and paste this into PowerShell, then press Enter:
winget install -e --id GoLang.GoWhen done, paste this next:
winget install -e --id Git.GitKey Point: Go is the "tool," Git is the "download tool." Once installed, you can use them anytime.
2-2. Restart Your Computer (or Close and Reopen PowerShell)
To use the installed tools, close PowerShell once and reopen it.
2-3. Download and Build gog
Paste these commands one by one and press Enter:
cd ~git clone https://github.com/steipete/gogcli.gitcd gogcligo mod downloadgo build -o .\bin\gog.exe .\cmd\gogKey Point: go build is the process of "creating the gog.exe executable file." Once this is done, you're almost ready to use it.
2-4. Test It
.\bin\gog.exe --helpIf lots of English explanations appear, success!
2-5. Set Up PATH (Use from Anywhere)
setx PATH "%USERPROFILE%\gogcli\bin;%PATH%"Note: To apply this setting, you need to close and reopen PowerShell.
After closing and reopening PowerShell, try this:
gog --helpIf it appears, installation is complete!
For Mac
Mac is easy—like "installing from an app store."
2-1. Install Homebrew (If You Haven't Already)
Paste this command into Terminal and press Enter:
/bin/bash -c "$(curl -fsSL https://raw.githubusercontent.com/Homebrew/install/HEAD/install.sh)"Key Point: Homebrew is like an "app store" for installing Mac apps via commands.
2-2. Install gog
brew install steipete/tap/gogcli2-3. Test It
gog --helpIf English explanations appear, success!
[Step 3] Connect with Google
This is the setup to "log in with your Google account."
3-1. Create a "Key" in Google Cloud Console
Official documentation pages are provided here to help you visualize the screen transitions.
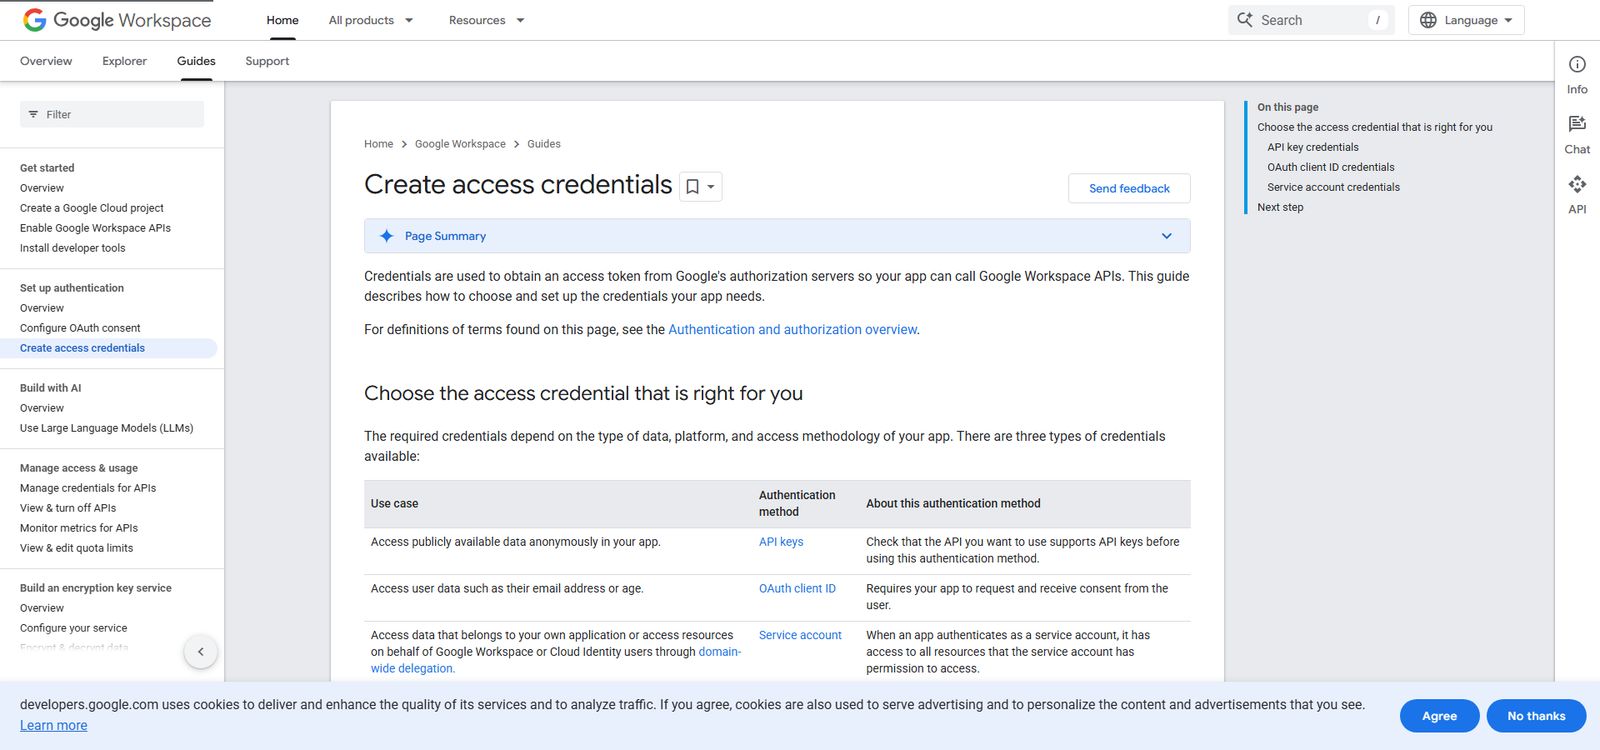
- Open https://console.cloud.google.com/ in your browser
- Click "Select Project" at top right → "New Project"
- Enter project name "gog-cli" (anything is OK) → Click "Create"
- From left menu, click "APIs & Services" → "OAuth consent screen"
- Select "External" → Click "Create"
- Enter app name "gog" (anything is OK), email address → "Save and Continue"
- Click "Add or Remove Scopes"
- Search and check these:
- https://mail.google.com/ (Gmail)
- https://www.googleapis.com/auth/calendar (Calendar)
- https://www.googleapis.com/auth/drive (Drive)
- "Update" → "Save and Continue" → "Save and Continue" → "Back to Dashboard"
- From left menu, click "Credentials" → "Create Credentials" → "OAuth client ID"
- Select "Desktop app" as application type
- Enter name "gog-desktop" (anything is OK) → "Create"
- Click "Download JSON"
Note: The downloaded JSON file is a "key." Never show it to anyone.
3-2. Register the "Key" with gog
Check where the downloaded JSON file is located.
For Windows:
It should be in the Downloads folder, so run this command (replace XXXX with the actual filename):
gog auth credentials ~/Downloads/client_secret_XXXX.jsonFor Mac:
gog auth credentials ~/Downloads/client_secret_XXXX.json3-3. Add Your Google Account
gog auth add you@gmail.comKey Point: Replace you@gmail.com with the actual Gmail address you want to use.
A browser will open asking "Do you want to allow this app to access?" Click "Allow."
Solution: If the browser doesn't open, add –manual like this:
gog auth add you@gmail.com --manualCopy the displayed URL, open it manually in your browser, and paste the displayed code back into the terminal.
[Step 4] Try It Out
4-1. Specify the Account You Want to Use
For Windows:
$env:GOG_ACCOUNT = "you@gmail.com"For Mac:
export GOG_ACCOUNT=you@gmail.comKey Point: Replace you@gmail.com with your actual address.
4-2. Display Gmail Label List
gog gmail labels listIf a list of labels (Inbox, Sent, Trash, etc.) appears, success!
4-3. Other Commands to Try
# Display today's schedule
gog calendar agenda --today

# Display only 3 files from Drive
gog drive ls --max 3

# Check number of unread emails
gog gmail labels list | grep UNREAD
Common Problems and Solutions
"gog" Not Found
For Windows:
- Close and reopen PowerShell
- If still not working, check PATH with:
$env:PATHCheck if C:\Users\(your username)\gogcli\bin is included.
For Mac:
echo $PATHCheck if /opt/homebrew/bin or /usr/local/bin is included.
Browser Authentication Not Working
Use the –manual option:
gog auth add you@gmail.com --manualCopy the displayed URL, open it in your browser, and paste the displayed code into the terminal.
Not Enough Permissions
Re-authenticate with –force-consent:
gog auth add you@gmail.com --services gmail,calendar,drive --force-consentSummary
Great job! You can now use gog.
Conclusion:
- Windows: Build with Go, Mac: Install with Homebrew
- Create a "key (JSON)" in Google Cloud and register it
- Connect account with gog auth add
- Test with gog gmail labels list
You can now control Gmail, Calendar, and Drive from the black screen!
Once you get used to it, you'll save time by not having to open a browser. Start with daily email checks and schedule checks.
Reference Links
- gog official site: https://gogcli.sh/
- GitHub repository: https://github.com/steipete/gogcli
- Google Cloud Console: https://console.cloud.google.com/
